People often ask how they can save their map on their computer. It's not possible to save the whole web app locally so you can't save the interactive map/blog offline as is.
However, there are several ways to extract the data from your blog.
Download the data individually
- open your TravelMap administration
- open: the Settings page
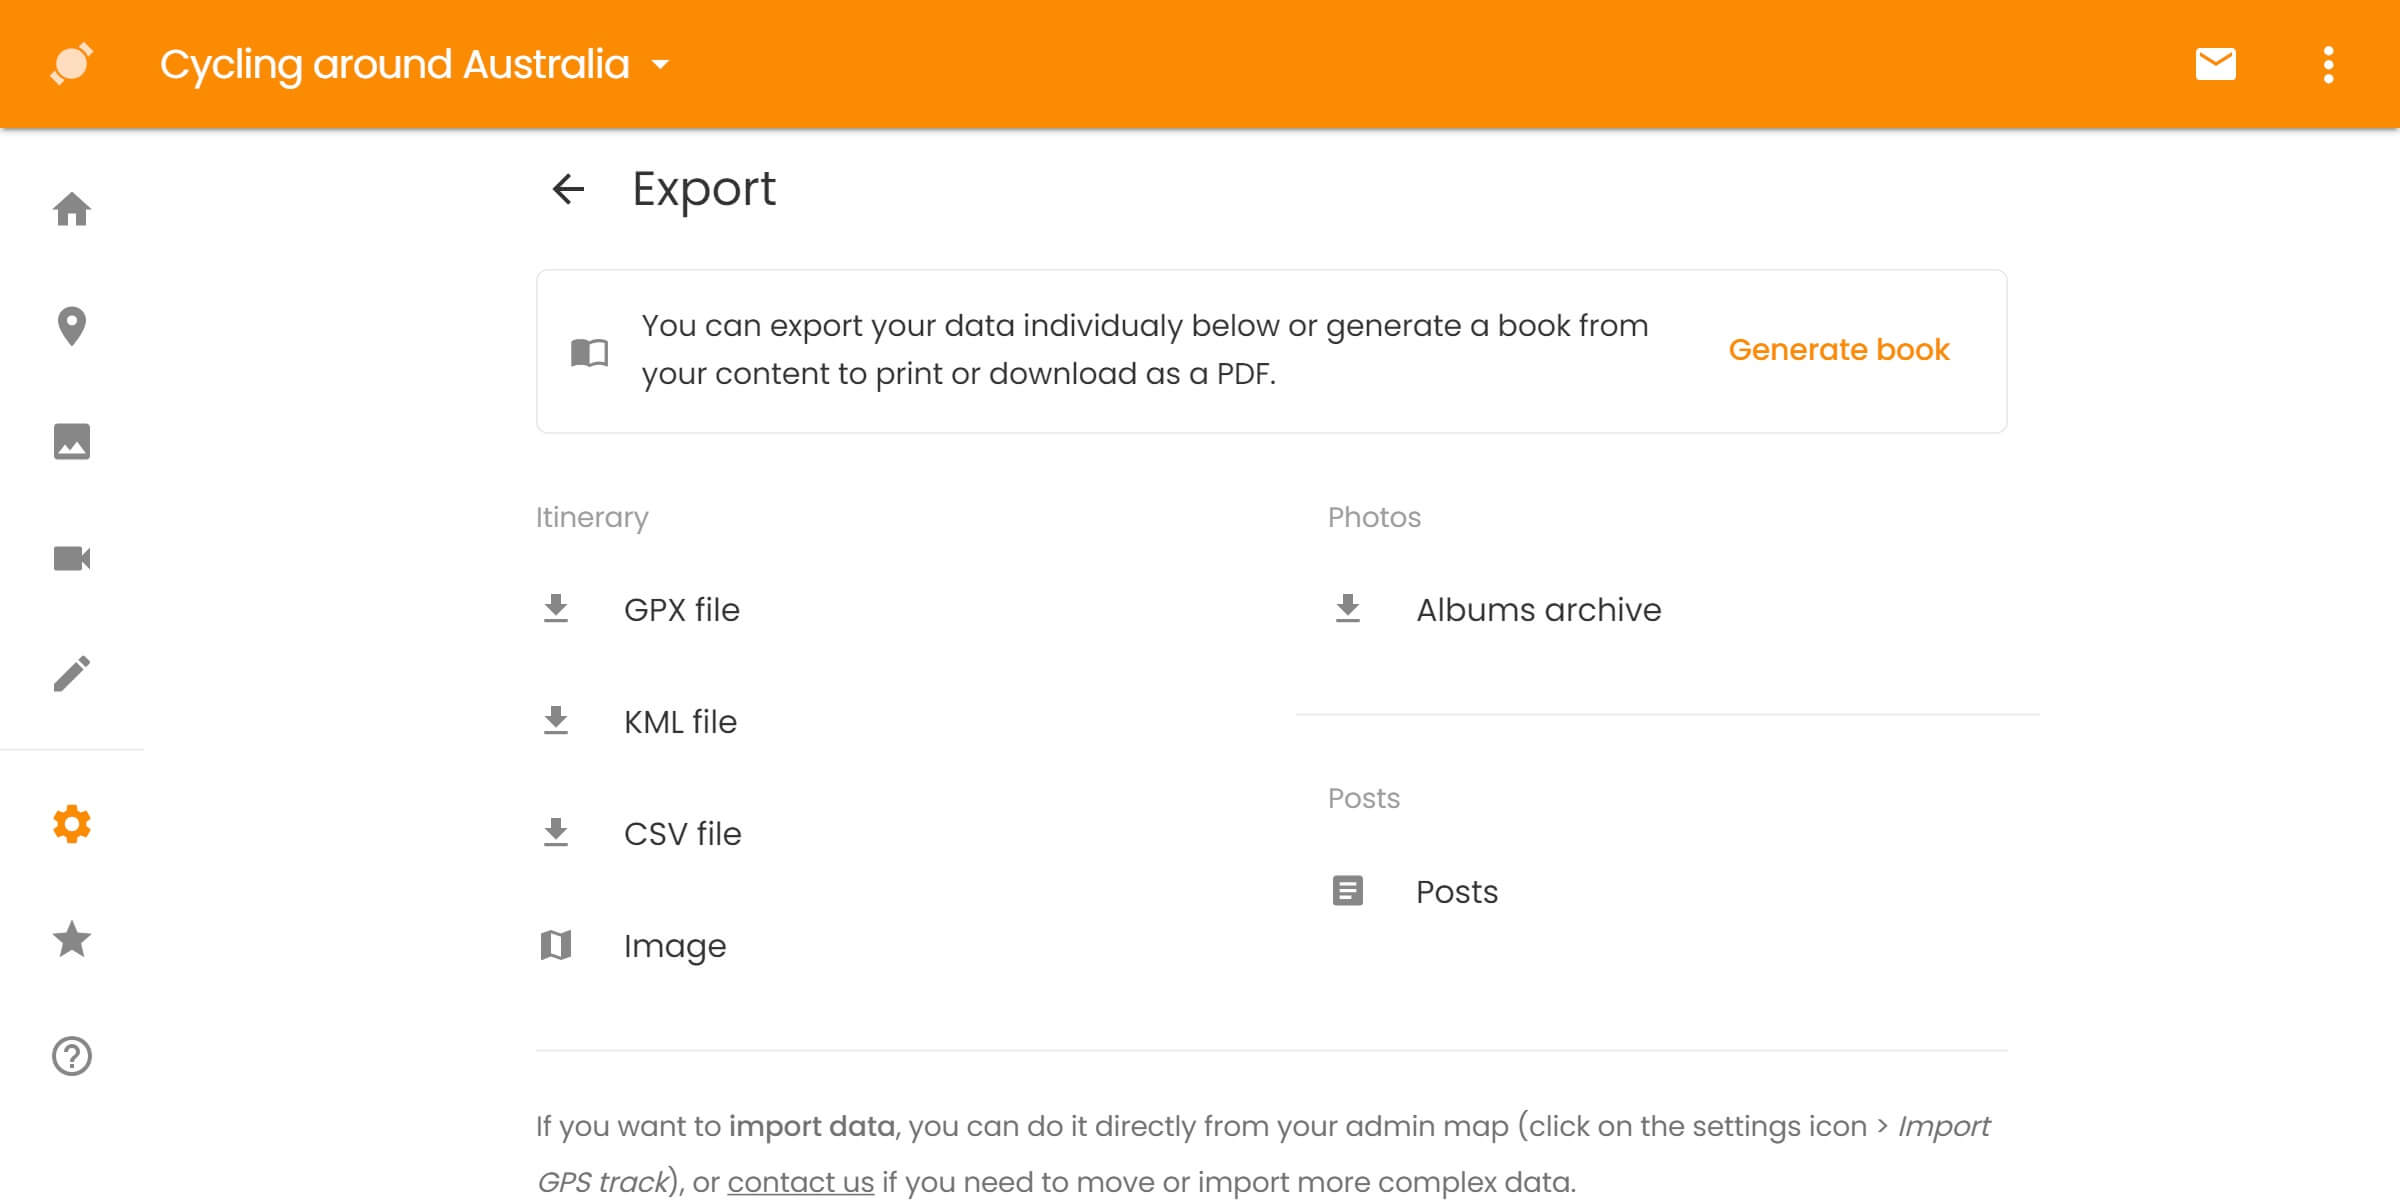
- open the Export page
- you can download:
- the GPS points of your itinerary
- an archive of your photo albums
- all of your text articles
Print your map
If you're looking for a way to "print your map" or download an image to display it somewhere else, you can:
- manually take a screenshot of your map (press the "Print screen" button on the keyboard or use the screenshot app from Windows or MacOS)
- download the generated Admin > Settings > Export > Itinerary: Image
- generate a PDF from your blog (see explanation below)
- click on Generate
- click on Insert map
- click on Save map
- download the A4 landscape image
You can use this image anywhere you want as long as you don't hide/cut the TravelMap logo.
Print a poster of your map
We can also generate large high resolution images of your map in A3, A2, A1 or A0 formats that you can print.
It costs 8€ net to download it (+ VAT for european customers). Contact us if you're interested.
Download a PDF file
The closest way to "download your blog" offline is to generate a PDF file. It won't be interactive but it'll contain all of your spots, photos and articles.
Note: this is a paid service.
- open your TravelMap administration
- open: the Settings
- open the TravelMap book page
- optionally: change the content or options
- click on Generate
- click on Print / Download
- click on the Download PDF tab
Embed your map
You can also embed your map on another website if you want to keep the map interactive (as opposed to using a static image).